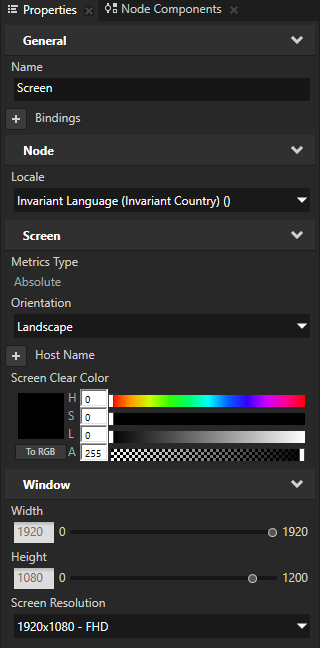
- Screen Clear Color to black
This way you set the color you want to use in the areas outside of the Screen node if the screen resolution of the device on which you run your Kanzi application is larger than the resolution of the Screen node. - Screen Resolution to 1920x1080 - FHD
This way you set the Screen size of your application to 1920 by 1080 pixels.
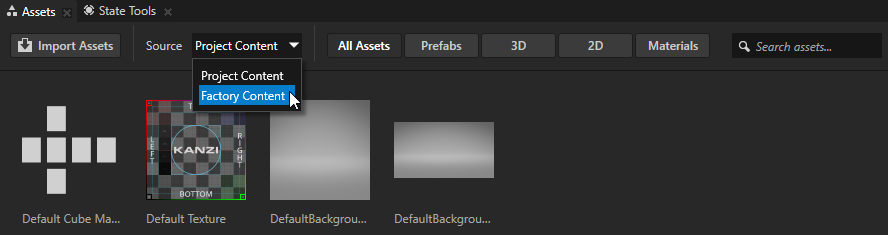
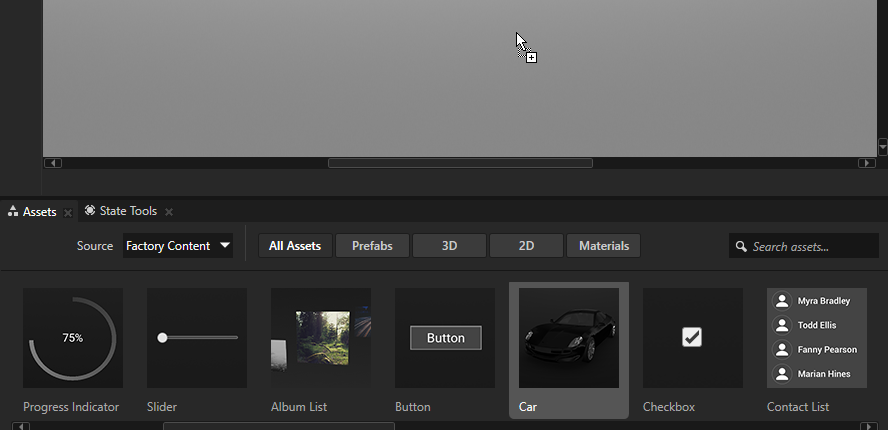
The Factory Content assets contain ready-made components which you can use to create prototype projects faster.
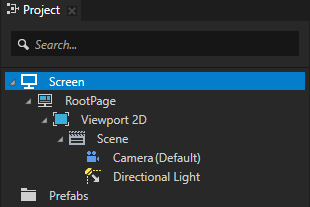
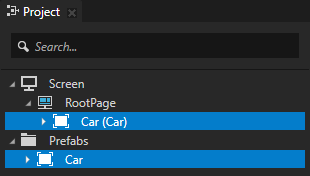
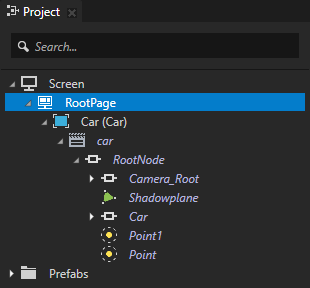
Kanzi Studio adds the Car to the Project > RootPage node and adds the it to the Project > Prefabs.
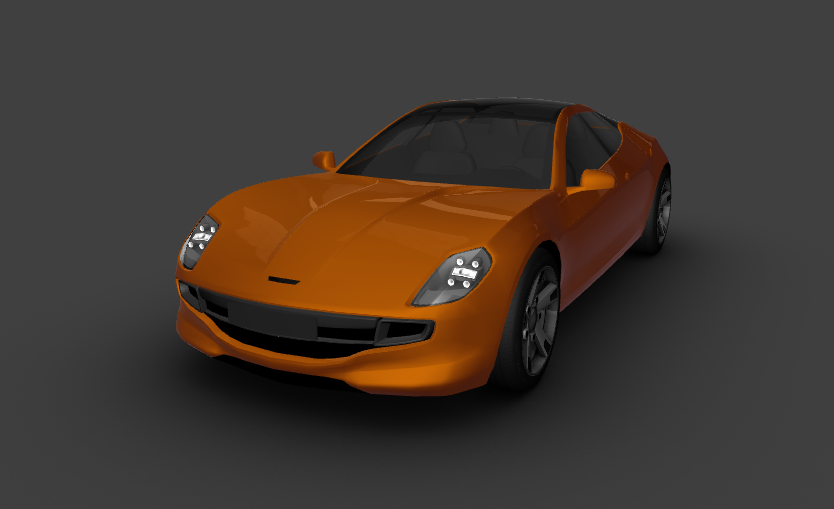
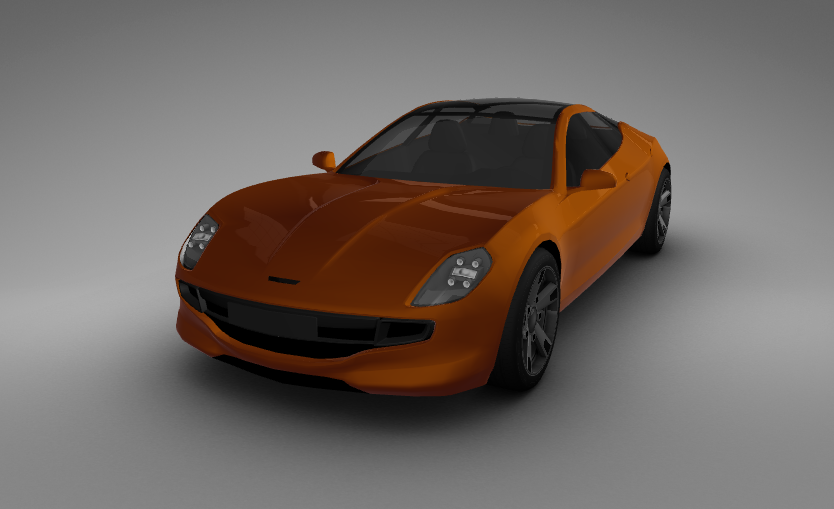
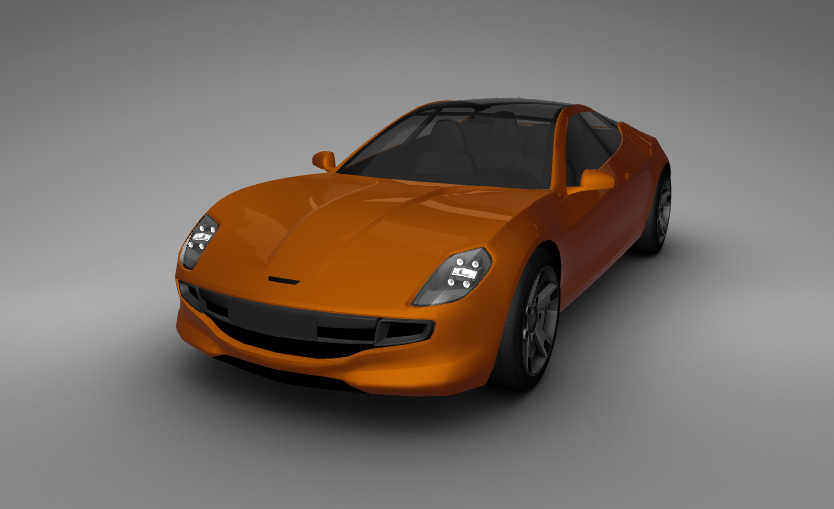
- From the Assets window drag the Car Paint Material to the car body in the Preview window.
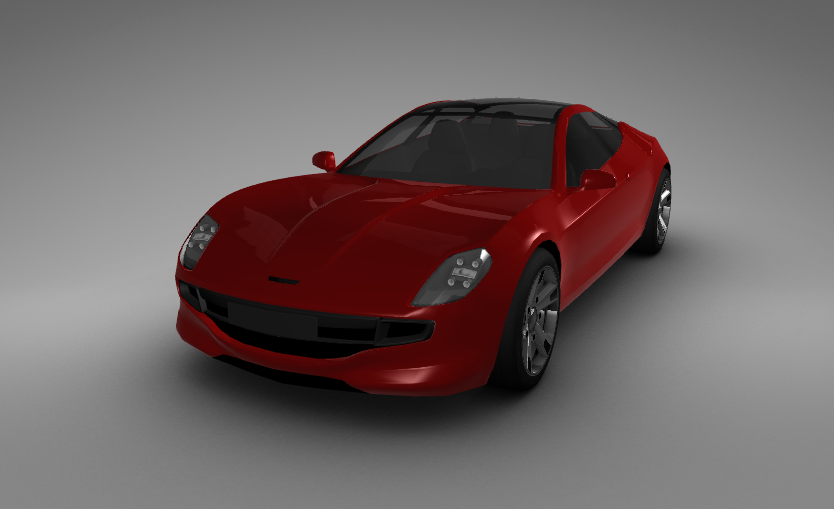
This way you set the Car > car > RootNode > Car > CarBody node to use the Car Paint Material.
When you drop a material on the Preview or on a node in the Project, Kanzi adds that material to the Library > Materials and Textures > Materials and applies the material to the node.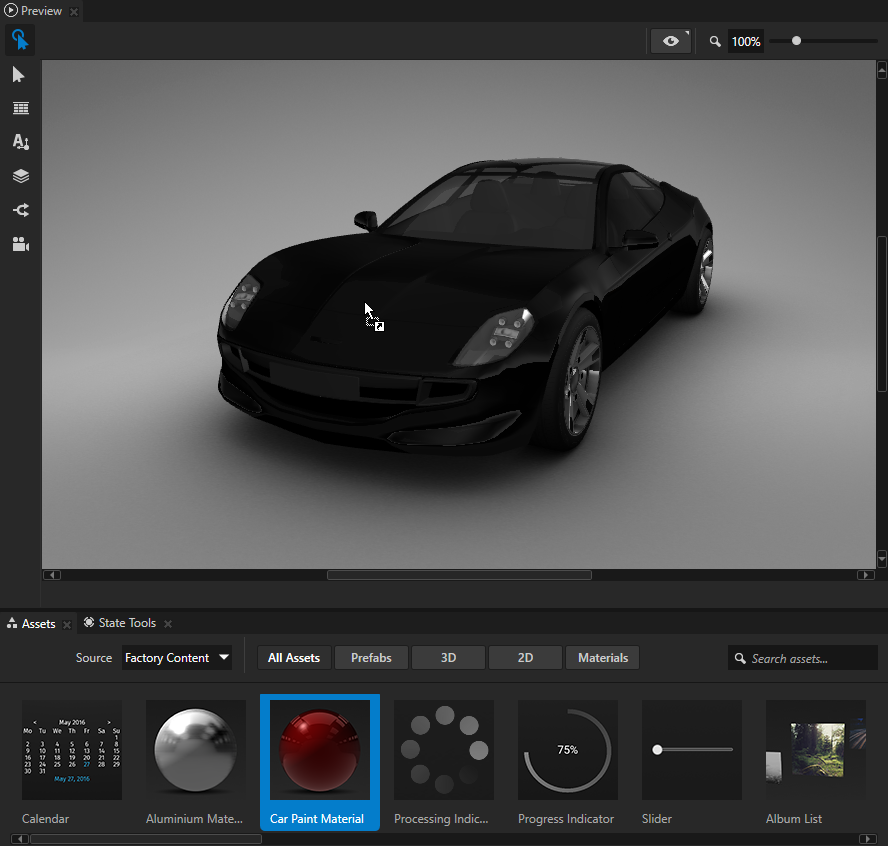
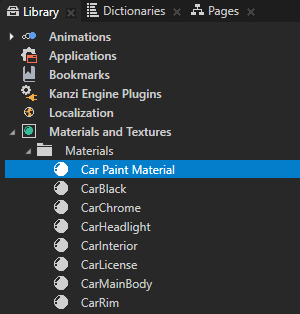
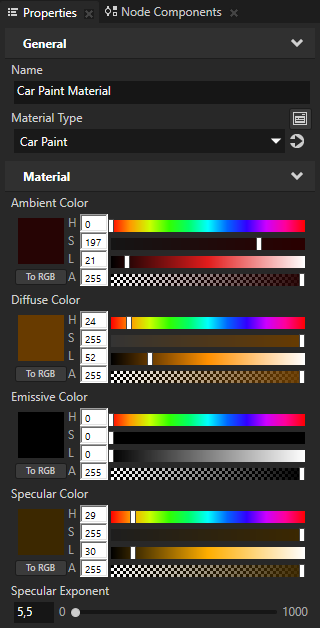
- In the Library > Materials and Textures > Materials select the Car Paint Material and in the Properties set:
- Diffuse Color Hue (H) property field to 24
- Specular Color property fields:
- Hue (H) to 29
- Saturation (S) to 255
- Lightness (L) to 30
- Specular Exponent to 5,5
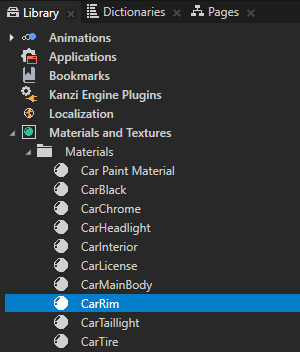
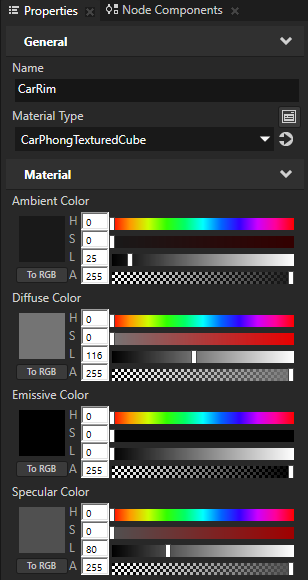
- In the Library > Materials and Textures > Materials select the CarRim material and in the Properties set:
- Specular Color Lightness (L) property field to 80
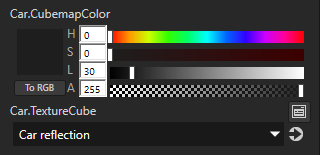
- Car.CubemapColor Lightness (L) property field to 30
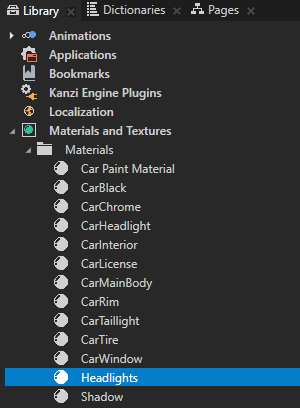
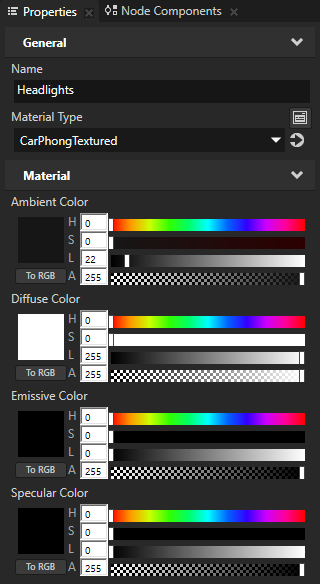
- In the Library > Materials and Textures > Materials select the Headlights material and in the Properties set:
- Diffuse Color Lightness (L) property field to 255
- Specular Color Lightness (L) property field to 0
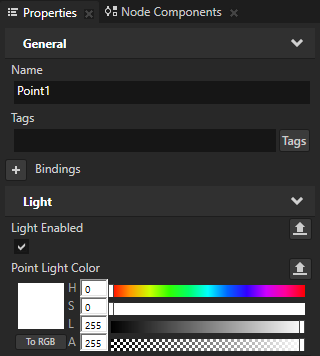
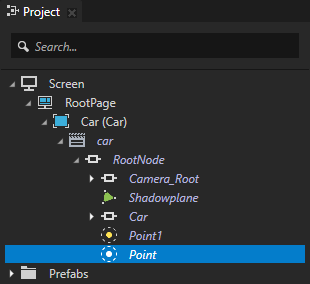
- In the Project select the RootPage > Car > car > RootNode > Point1 node and in the Properties set the Point Light Color Lightness (L) property field to 255.

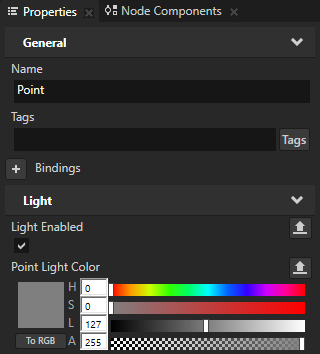
- In the Project select the RootPage > Car > car > RootNode > Point node and in the Properties set:
- Point Light Color Lightness (L) property field to 127
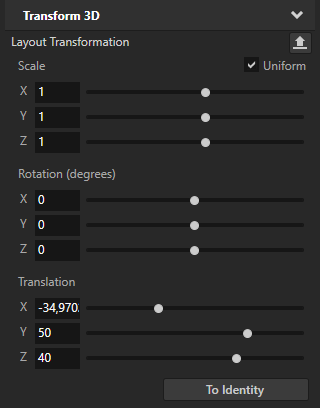
- Layout Transformation property fields:
- Translation Y to 50
- Translation Z to 40
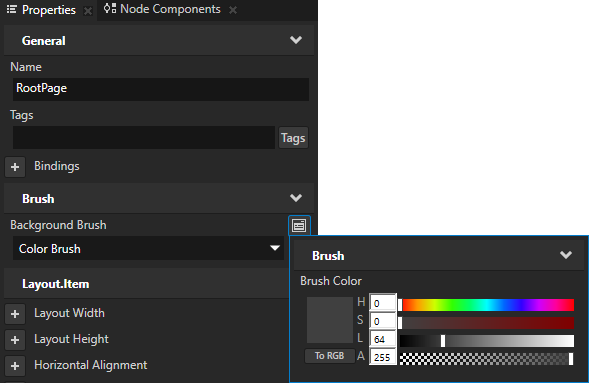
- In the Project select the RootPage node and in the Properties set the Background Brush property to + Color Brush.
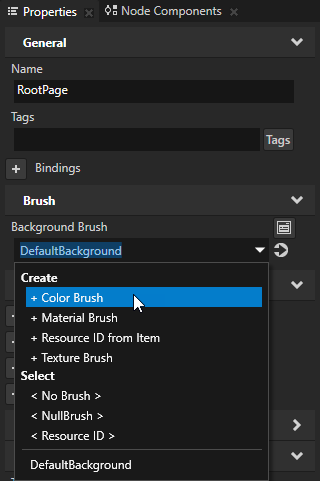
- Click
 next to the Background Brush property and set the Brush Color Lightness (L) property field to 64.